PunchCommerce Insights:
PunchCommerce podcast: More efficient purchasing p...
With the EOL (End of life) of Shopware 6.4, our plugin will only receive bug fixes and security updates for Shopware >6.5. We therefore recommend that you update your shop and our plugin to the latest Shopware version as soon as possible.
Our free extension for Shopware 6 allows you to use our OCI or cXML gateway punch-out in connection with your Shopware online shop. In this scenario, we take over the communication with your customer or their system (Ariba, Oracle or SAP) and forward the customer to your online shop after successful authentication.
First, download, install and activate the plugin from the Shopware store.
In PunchCommerce
Note Configure the URL of your online shop as the entry point according to the following scheme:
> https://<ihre-domain>.<tld>/<opt. sales-channel>/punchcommerce/authenticateIn Shopware
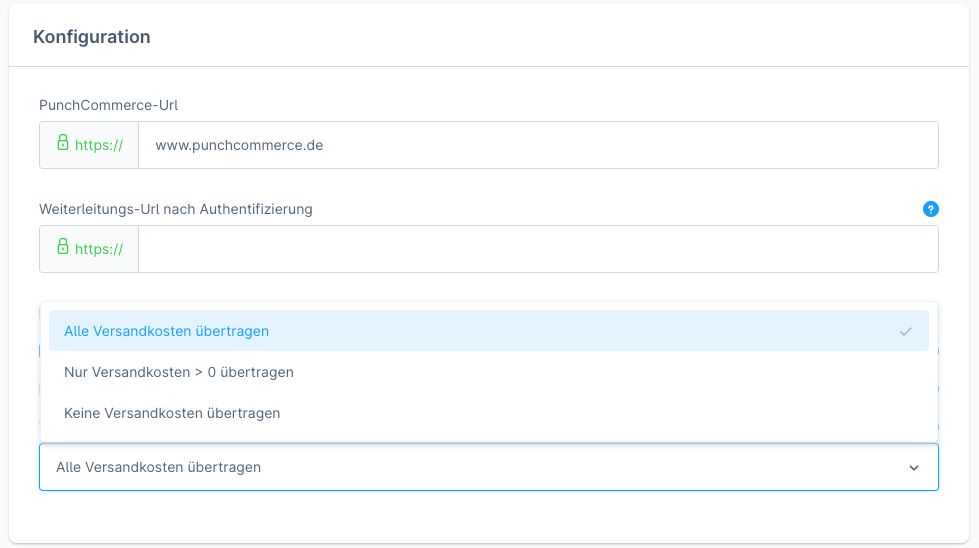
Within the administration, the input field “Redirect URL after authentication” is available to you in the plugin configuration. Please note that this option is exclusively reserved for Shopware administrators.
Here you can enter a URL to which the customer should be redirected after they have successfully logged in. As soon as a URL is entered, it is checked for correctness. If there is an error within the URL, a corresponding error message will be displayed.
Here you can transfer any product fields from Shopware to PunchCommerce as an additional field [2 - 10] during the PunchOut. The additional fields are then available to you within PunchCommerce and can be assigned to the respective protocol field using “field mapping” (menu: Customers -> Field assignments).
There are 3 different options for transferring shipping costs in the plugin settings:
For all 3 options, this only comes into effect if a valid shipping method is defined for the shopping cart. If no valid shipping method is defined, no shipping costs will be transferred. In addition, a corresponding note will be displayed in the shopping cart, but this does not affect the PunchOut.
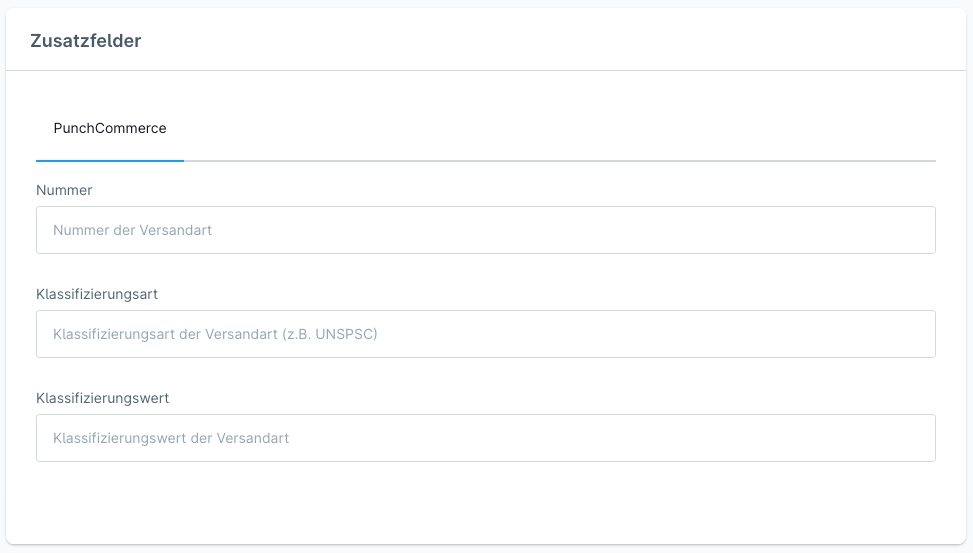
In addition, there is the option to adjust the ID or the classification to be transferred to the shipping method. There are corresponding additional fields for this in the shipping methods:
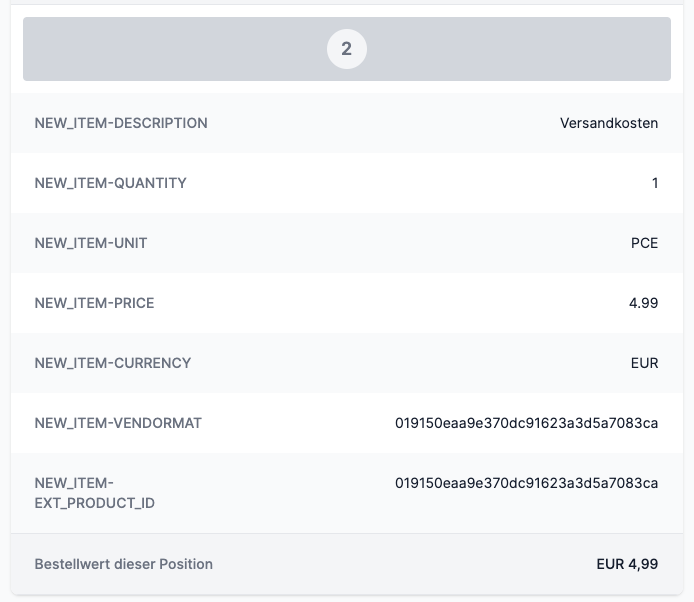
A successful transfer of shipping costs looks like this:
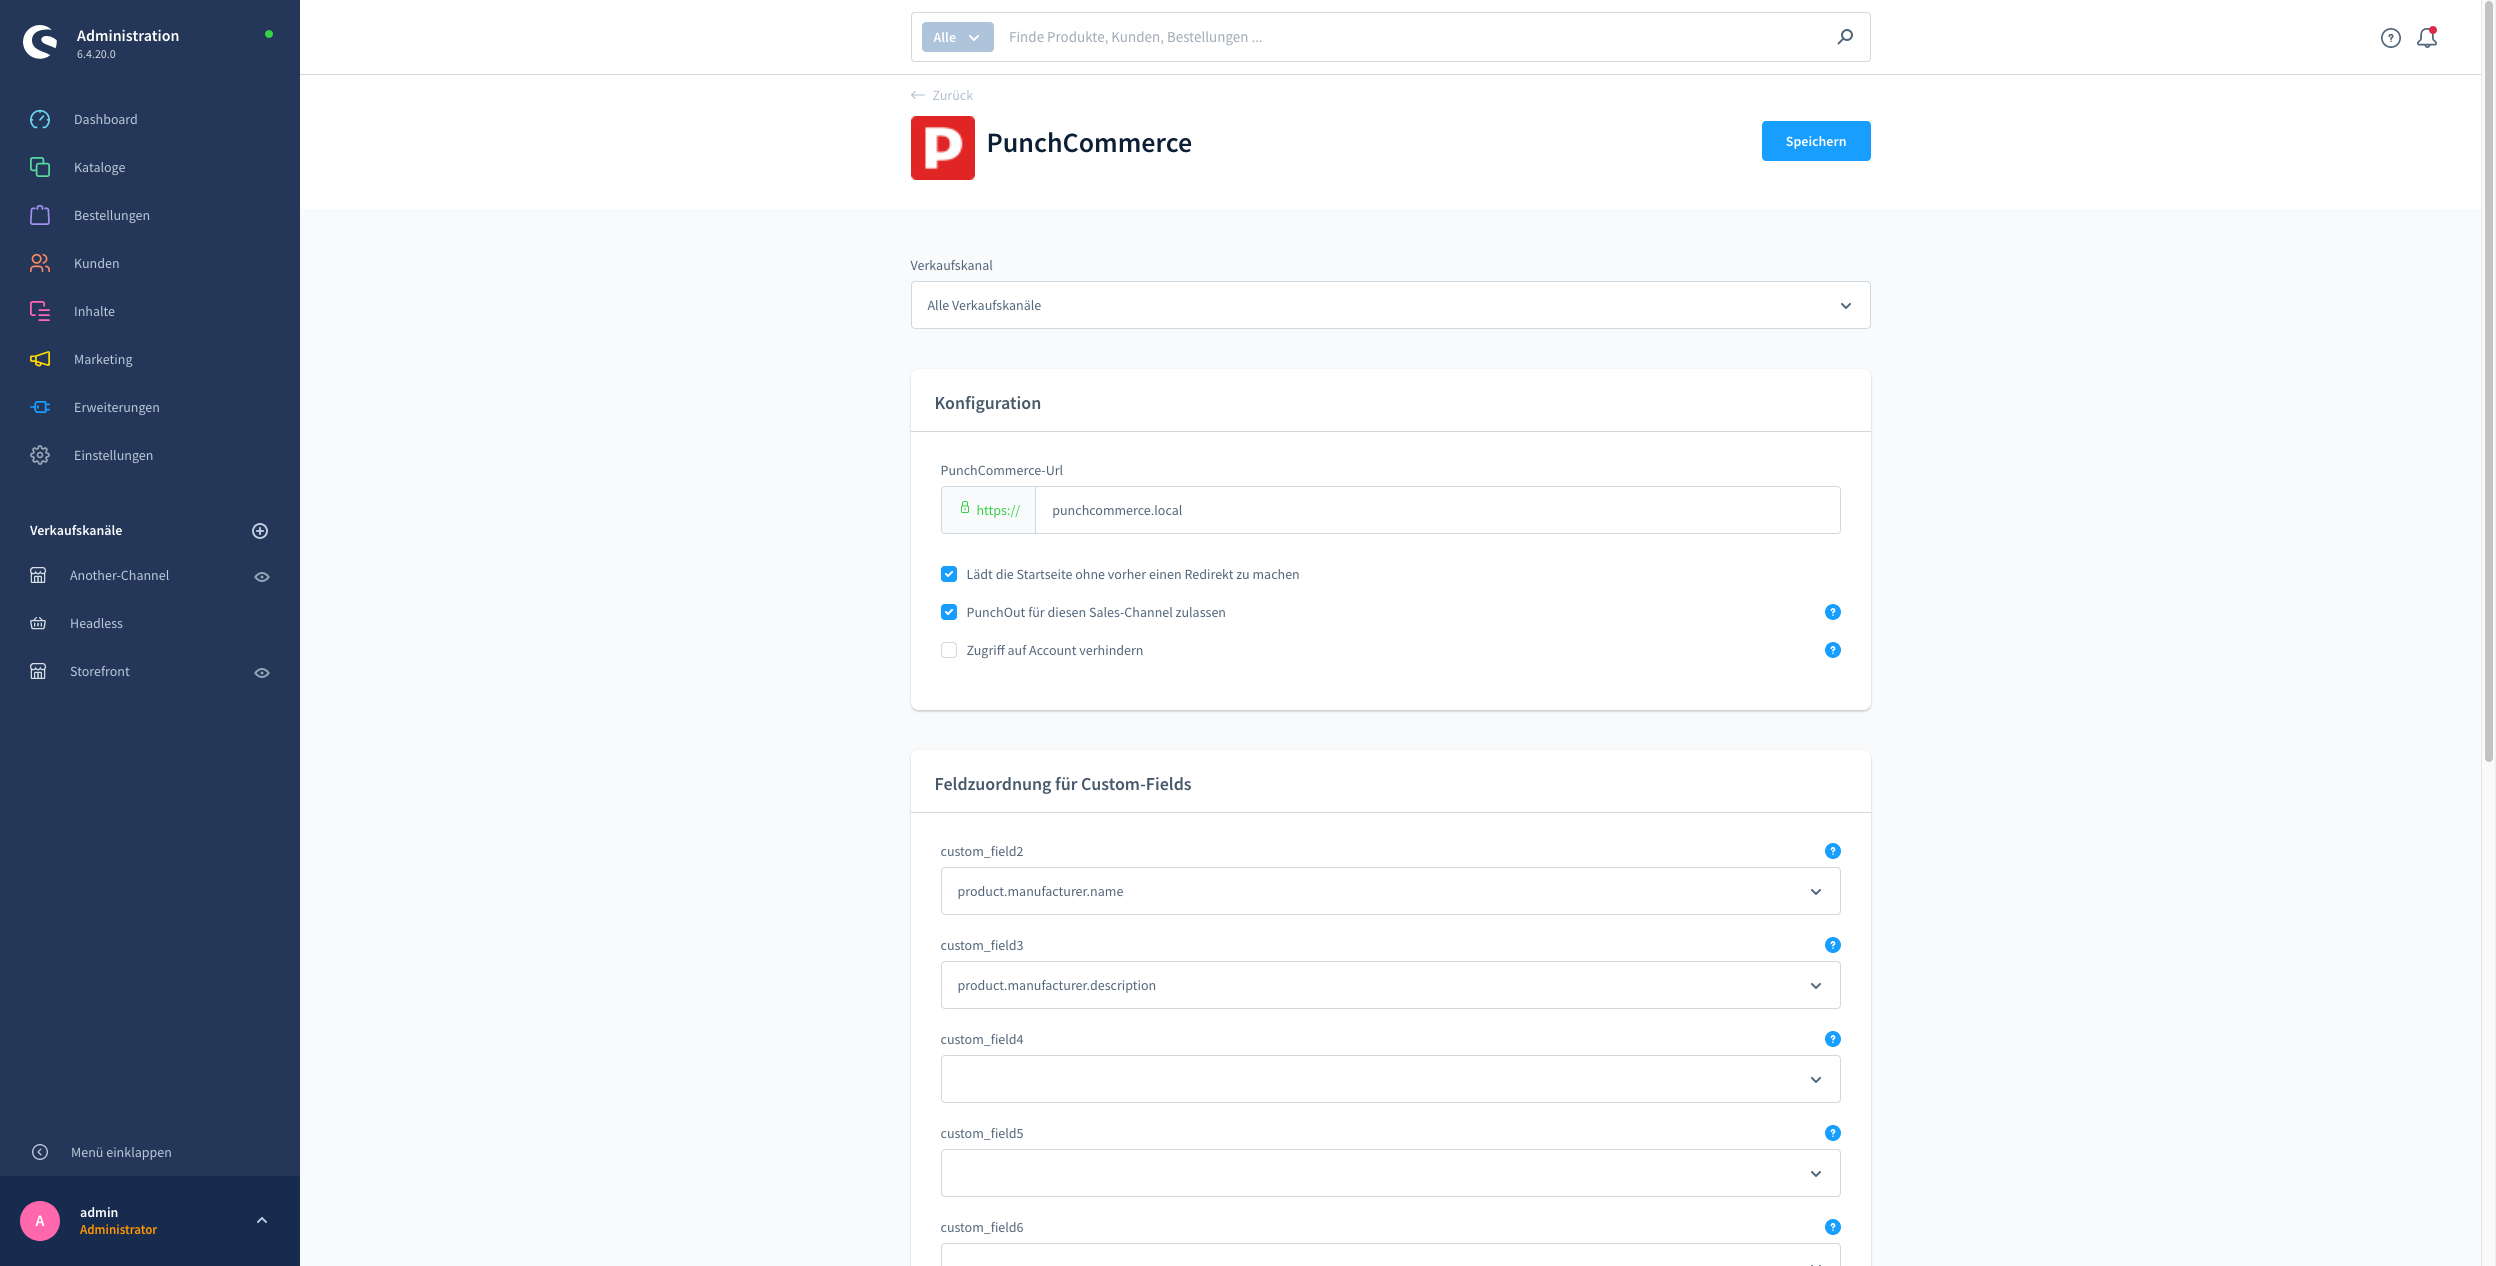
If the existing options are not enough for you, for example because you want to transfer a CustomField of the product, you have the option of creating your own field mapping options.
Example:
You have stored the CustomField "additionInformation" on the product in Shopware and now want this field to be transferred as part of the PunchOut. To do this, proceed as follows:
Explanation:
  "product": Corresponds to the name of the Shopware entity
  "customFields": Is the identifier for additional fields in Shopware
  "additionInformation": Is the name of your CustomField
Then assign the fields to PunchCommerce. In our example we would use the “Additional field 2”. Accordingly, we now select the option “product.customFields.additionInformation” in the plugin configuration for “Additional Field 2”, which we have just created. The field is now passed to PunchCommerce as “Additional Field 2” in PunchOut.
So that your CustomField "additionInformation" is now transferred from PunchCommerce to your OCI system, you must create a mapping in PunchCommerce (menu: Customers -> Field Mappings) and assign the "Additional Field 2" to the desired protocol value.
All options configured for a product are mapped to the custom_field1 field in our data model according to the following scheme:
  {
  "product": {
        [...]
        "custom_field1":"With additional So\u00dfe: on; Desired Text: My desired product; Datum: 2022-07-14T00:00:00+00:00; Color: red,blue; Number: 99; "
       [...]
  }
Only configurator options with one of the following types are mapped:
[
    'checkbox',
    'colorselect',
    'datetime',
    'textfield',
    'numberfield',
    'select',
    'textarea',
    'timestamp'
]
The scheme corresponds to:
Option-Name . ': ' . Option-Value '; '[...]